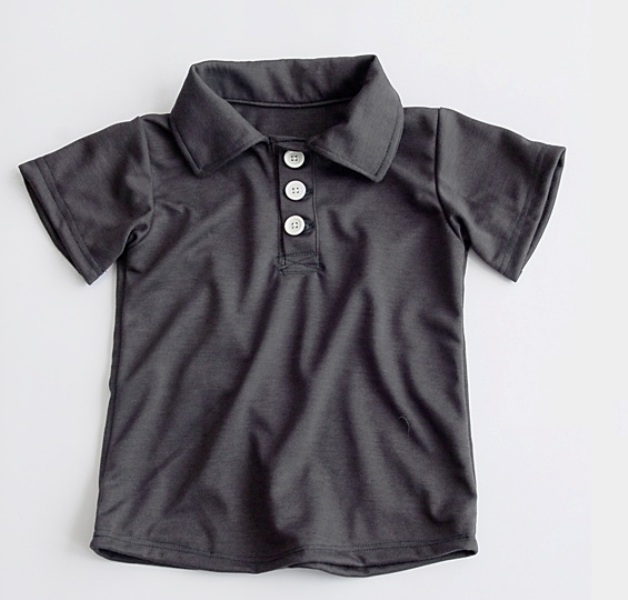
Polo shirts look so smart and classy on little boys that I couldn’t resist the temptation to create a tutorial for a boy’s polo shirts. The tutorial is easy-to-follow, in-depth guide to create a boy’s shirts. (No promises about the brevity of the content) Scroll down to get started.
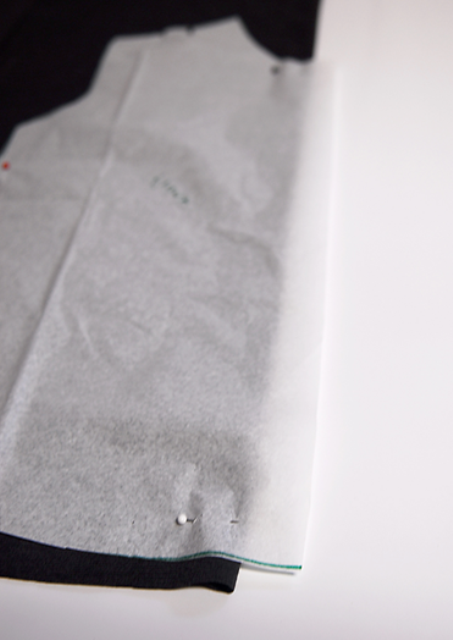
1. The first and the most crucial step is to measure and make the cuts accordingly. To make sure that you make the cuts right, use a polo shirt and make the measurements according to it. But if you do not have an old shirt, no worries, simply make the cuts according to your boy’s measurement.
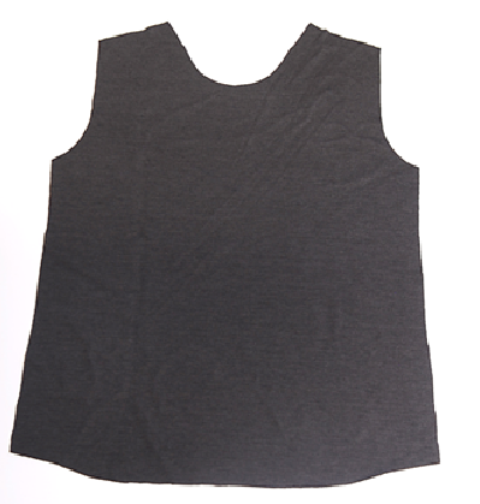
2. After you have made the initial cut. Remove a slice of fabric from both sides of the soon-to-be-a-polo-shirt, as shown in the figure below.
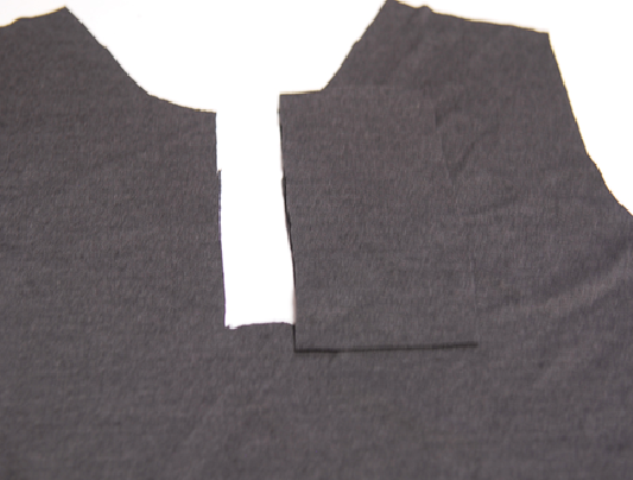
3. Now for the button placket, remove the small rectangle space from the upper part of the fabric as shown in the figure below:
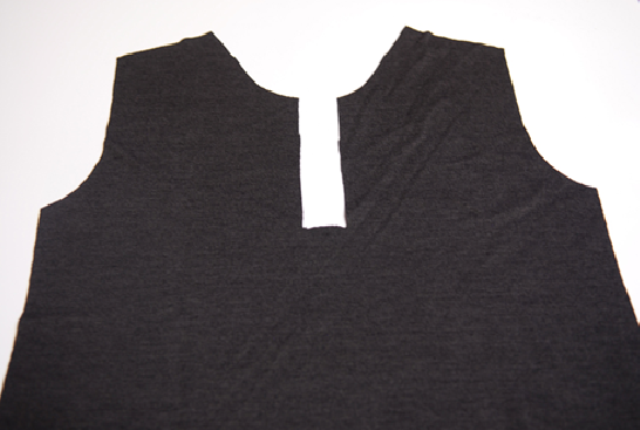
Now, the front is all ready to stitch.
4. Now let’s create tabs for the button planket.
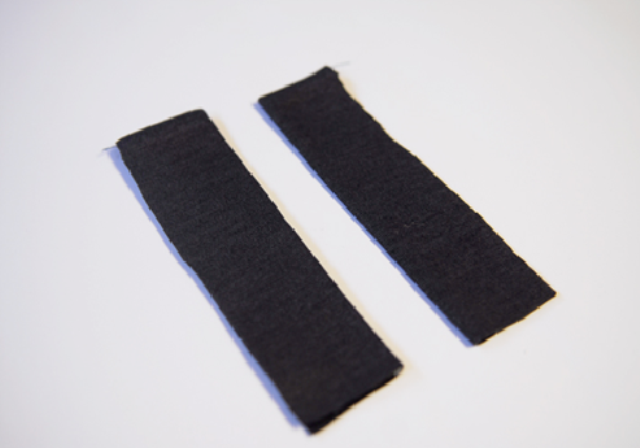
5. Take two rectangular portions of the fabric and cut them with identical dimensions.
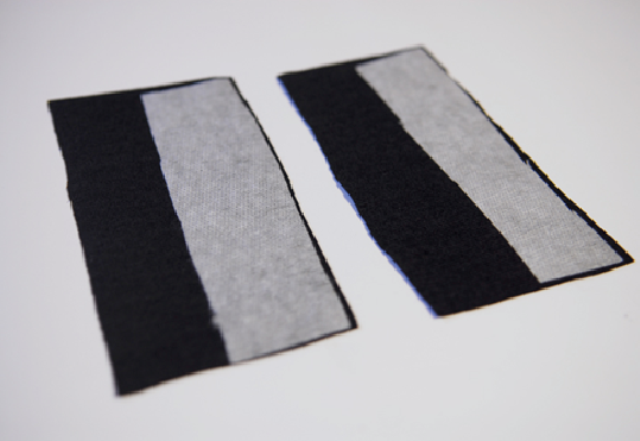
6. Fold the edges of both the rectangular fabric pieces and sew to finish the edges.
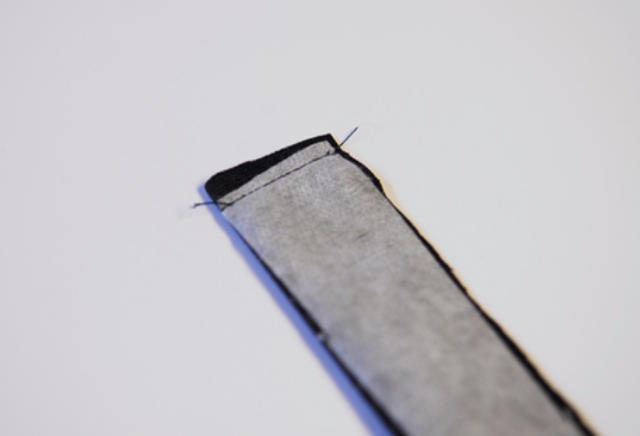
The result would look something like the image shown below.
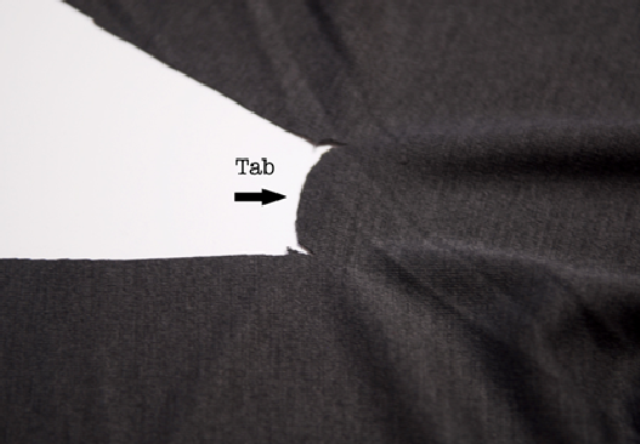
7. Now, attach the flap of the tab to the side of the slit and stitch.
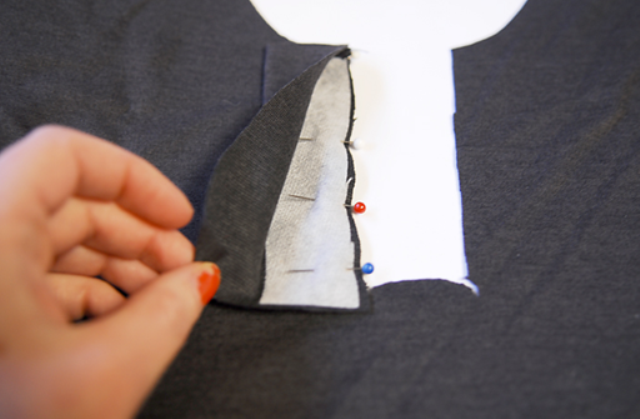
8. Attach both the flaps of the tabs with the slits, as shown.
The result should be something like the figure below.
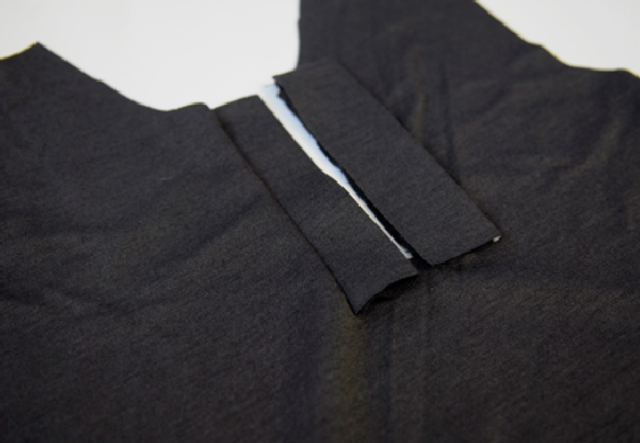
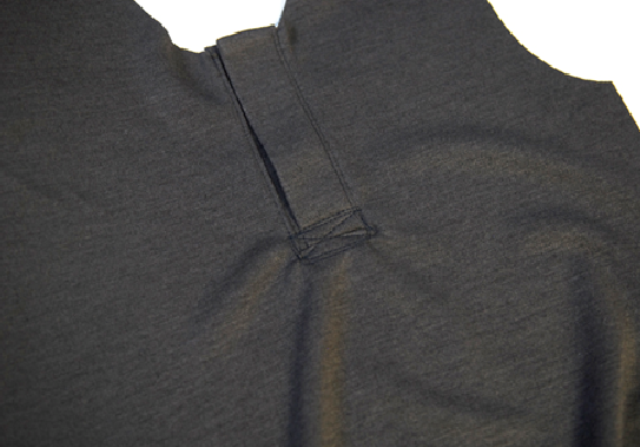
9. Now, fold the the two flaps over each other so that they unite in the middle of the button opening.
10. Now stitch a box and an X at the bottom of the flaps, as shown in the figure below.
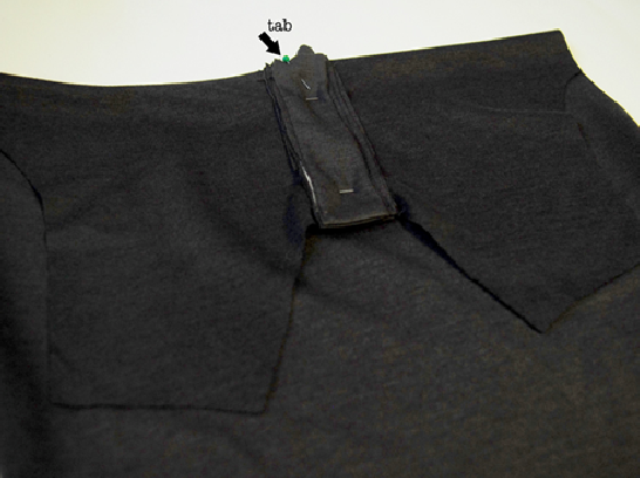
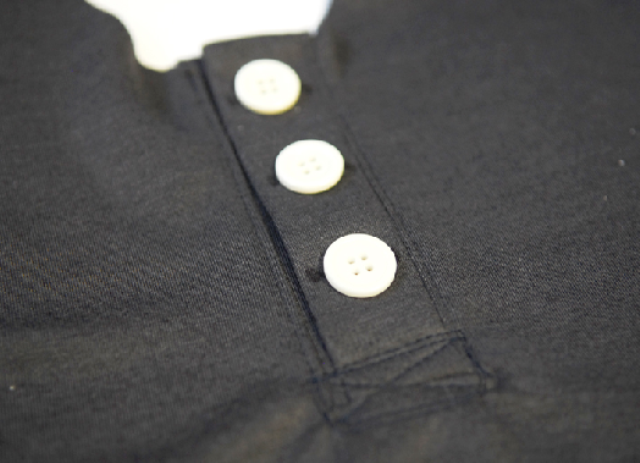
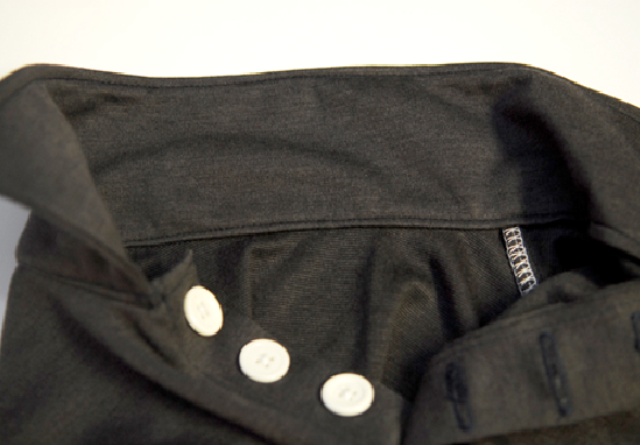
11. Cut 3-4 button slits and add the buttons to the tabs and secure them with a strong stitching.
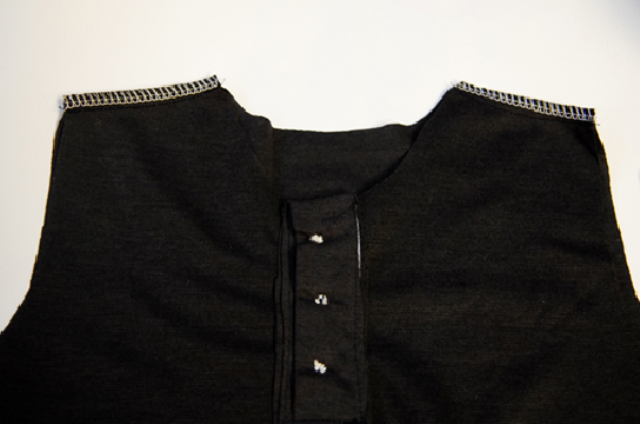
12. Turn the shirt inside out and fasten the buttons.
13. Now, attach the collar to the neck region.
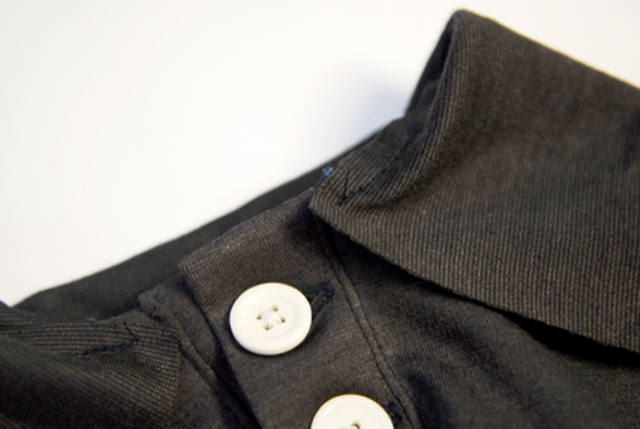
14. Fold the edges of the collar and stitch.
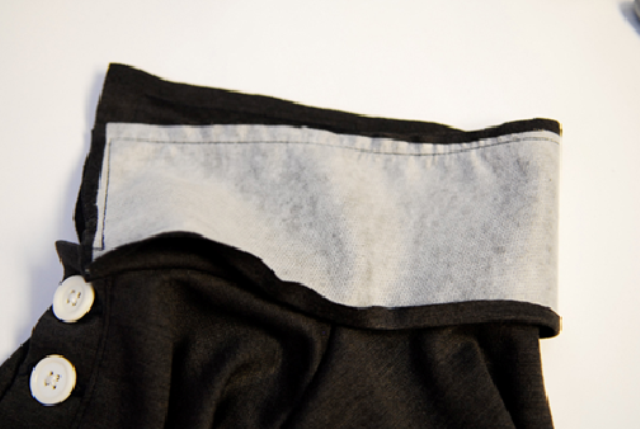
15. After you are done with the stitching on the collar, you are almost done.
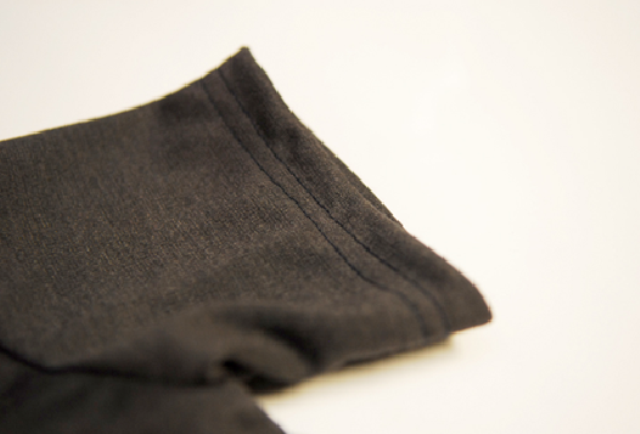
16. Double fold the edges of the sleeves and the bottom of the shirt to complete the stitching process.
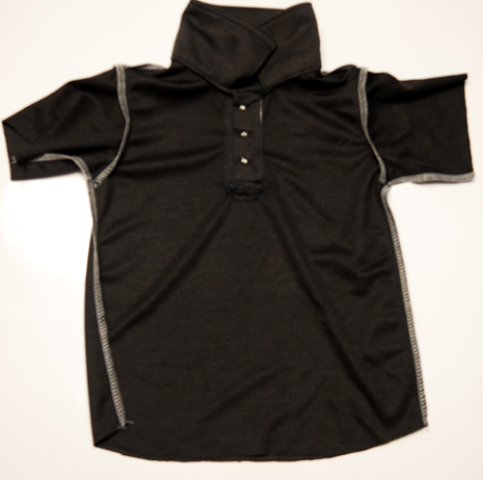

And there you go, all done!
Got any queries? Comment away in our comment section. Cheers!